Friday, December 16, 2011

Shaggy Bath Mat

After completing my light switch plate, I decided I wanted to do more for my (almost completed) bathroom. So I spent the last two days making a bath mat. We have been using towels on the floor and I was getting tired of my good towels getting ruined. Therefore, to Pinterest! I found a great shag rug made from old t-shirts at Rags By Sock Monkey. However, hers is a no sew mat. And she recommends washing it in a lingerie bag on a delicate cycle. Being a mom, and knowing this was going into my bathroom and therefore was going to be washed and washed often (think two boys) I was going to need something more durable. This is what I came up with.

Love it!
So now you can see what still needs to be done in my bathroom - trim work. (Oh, and that hunter green shower curtain is going to go too (read future project). It doesn't go with the softer hues the bathroom is now.) You can also see how close the mat is to the commode. Therefore washablity (is that a real word?) was a must! (Again think two boys!)
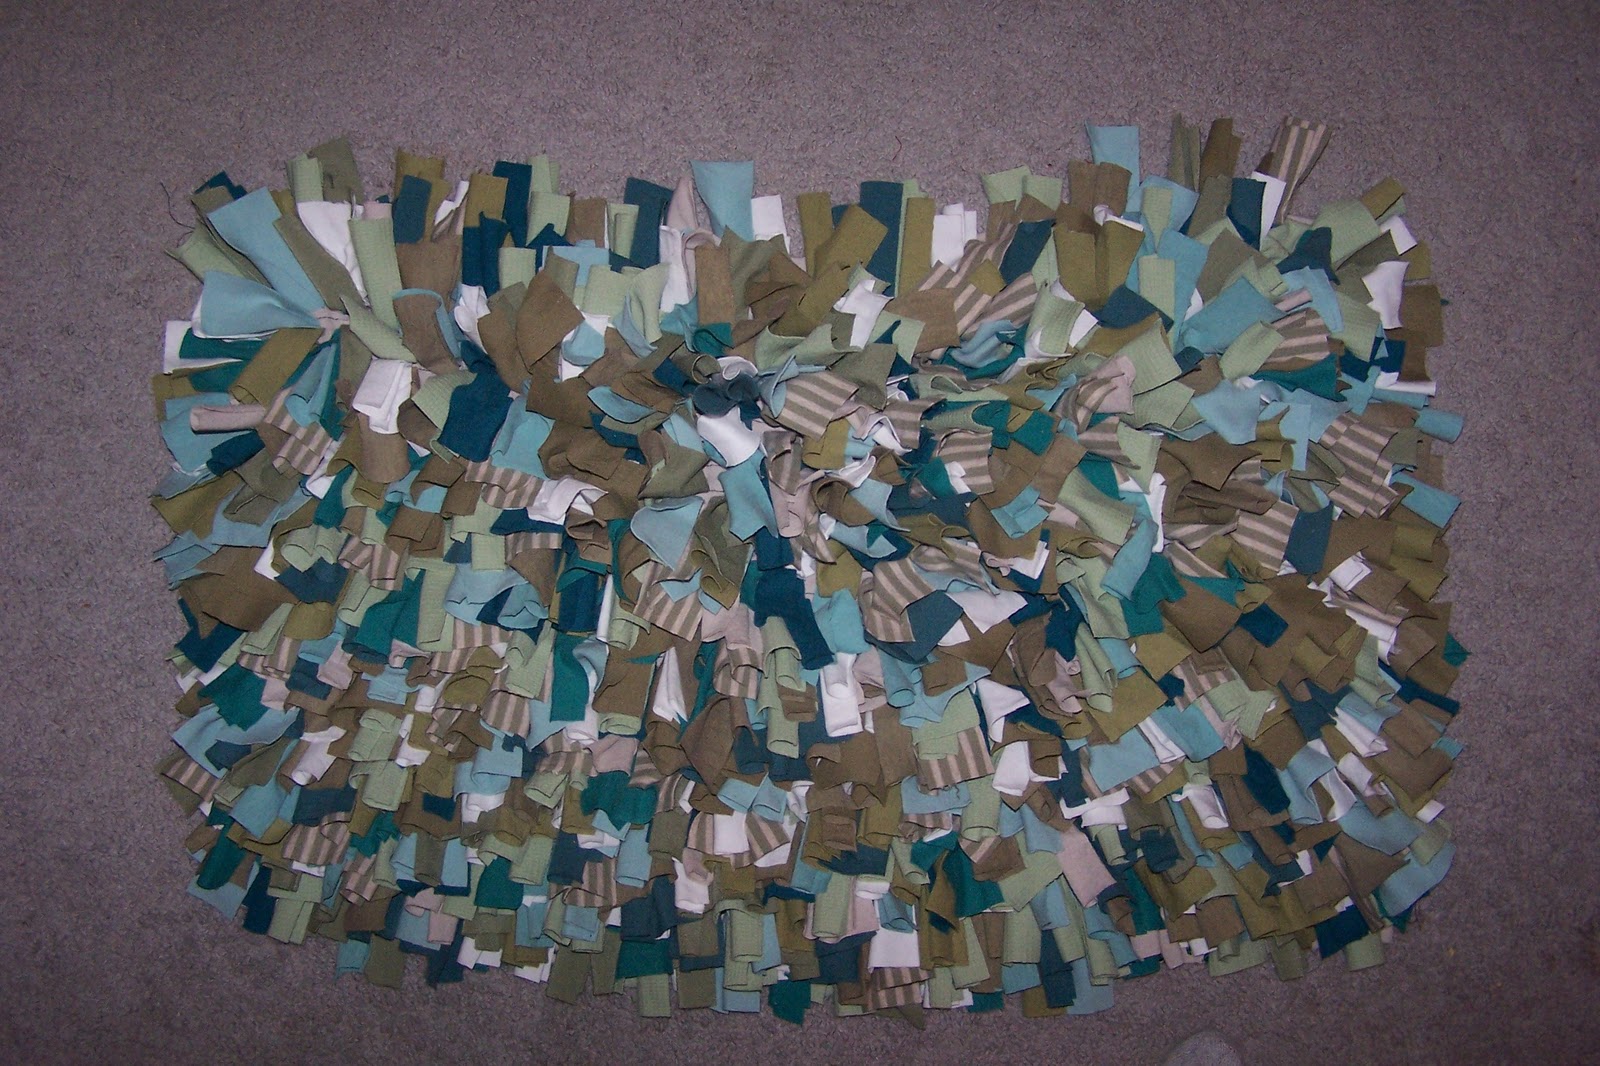
I really wanted the bath mat to coordinate with my bathroom, so I headed to The Salvation Army Thrift Store to get some cheap shirts to turn into scraps. With my color swatches in hand and five minutes to do the shopping, (Hubby was in the car with two very sleepy and cranky children) I headed in. Thankfully my Salvy's has all the clothing organized by color, I was able to quickly find a dozen or so shirts in the right colors and I headed to the register. Lucky me! I happened in on the day where all clothing was half off! So for less than $20 I got all the materials I needed to make this great rug.

After getting home (and getting the afore mentioned cranky kids to bed) I sat down and started cutting.

A rotary cutter makes things go so much faster!
 I cut the shirts into one and a half by six inch strips. It took me about an episode of Survivor to cut out all of the shirts. (Therefore it probably would have taken less time if I wasn't watching TV.) When I was done, this is what I had.

That's a big box of scraps!
Next, I realized that I forgot to leave one for the base of the bath mat. To Hubby's closet! (He's got too many old t-shirts anyway ;-) ). I cut two big rectangles figuring I'd make two bath mats. This is the time you learn that I tend to be a bit anal when it comes to some things. Measuring and cutting are two of them. So I measured and marked, with a sharpie, half inch marks a half inch apart from each other all over the shirt front.

Don't worry, you won't see the ugly, black, sharpie marks when it is finished
Then I carefully cut each line and  I weaved one strip through two of the holes all the way down the center line of the markings.
Here is where I differ from Rags By Sock Monkey. Having children (especially a toddler who likes to take things apart) and knowing that this would need to be washed, I decided that I would secure each row by sewing it down. (To the sewing machine!)
I used a simple running stitch to secure.
Pretty simple so far, right? Push fabric strips through, stitch down, repeat. When I got to the end, this is what it looked like.

I was surprised at how heavy it was getting.
About here I realized I did not have enough scraps to do all of the rows I had cut out. So, being the (sometimes) anal person I am I separated the remaining strips into piles of what I would need and trimmed the base down a bit, then continued. When it was done it looked like this.
And even closer with out my ugly living room carpet.

And, just for fun, even closer.

Hubby was concerned that it would feel too lumpy and bumpy and would be uncomfortable to stand on. After giving it a try, even he thought it was great to stand on!  All in all, this was a fun project. I got thumbs up from Bubba, The Little Princess and even from the Hubby. Once more here it is in the bathroom.

I can't wait to try it out with some of the kids clothes. I think it would be great for a little rug by their beds or for a comfy reading spot.

No comments:

Post a Comment